
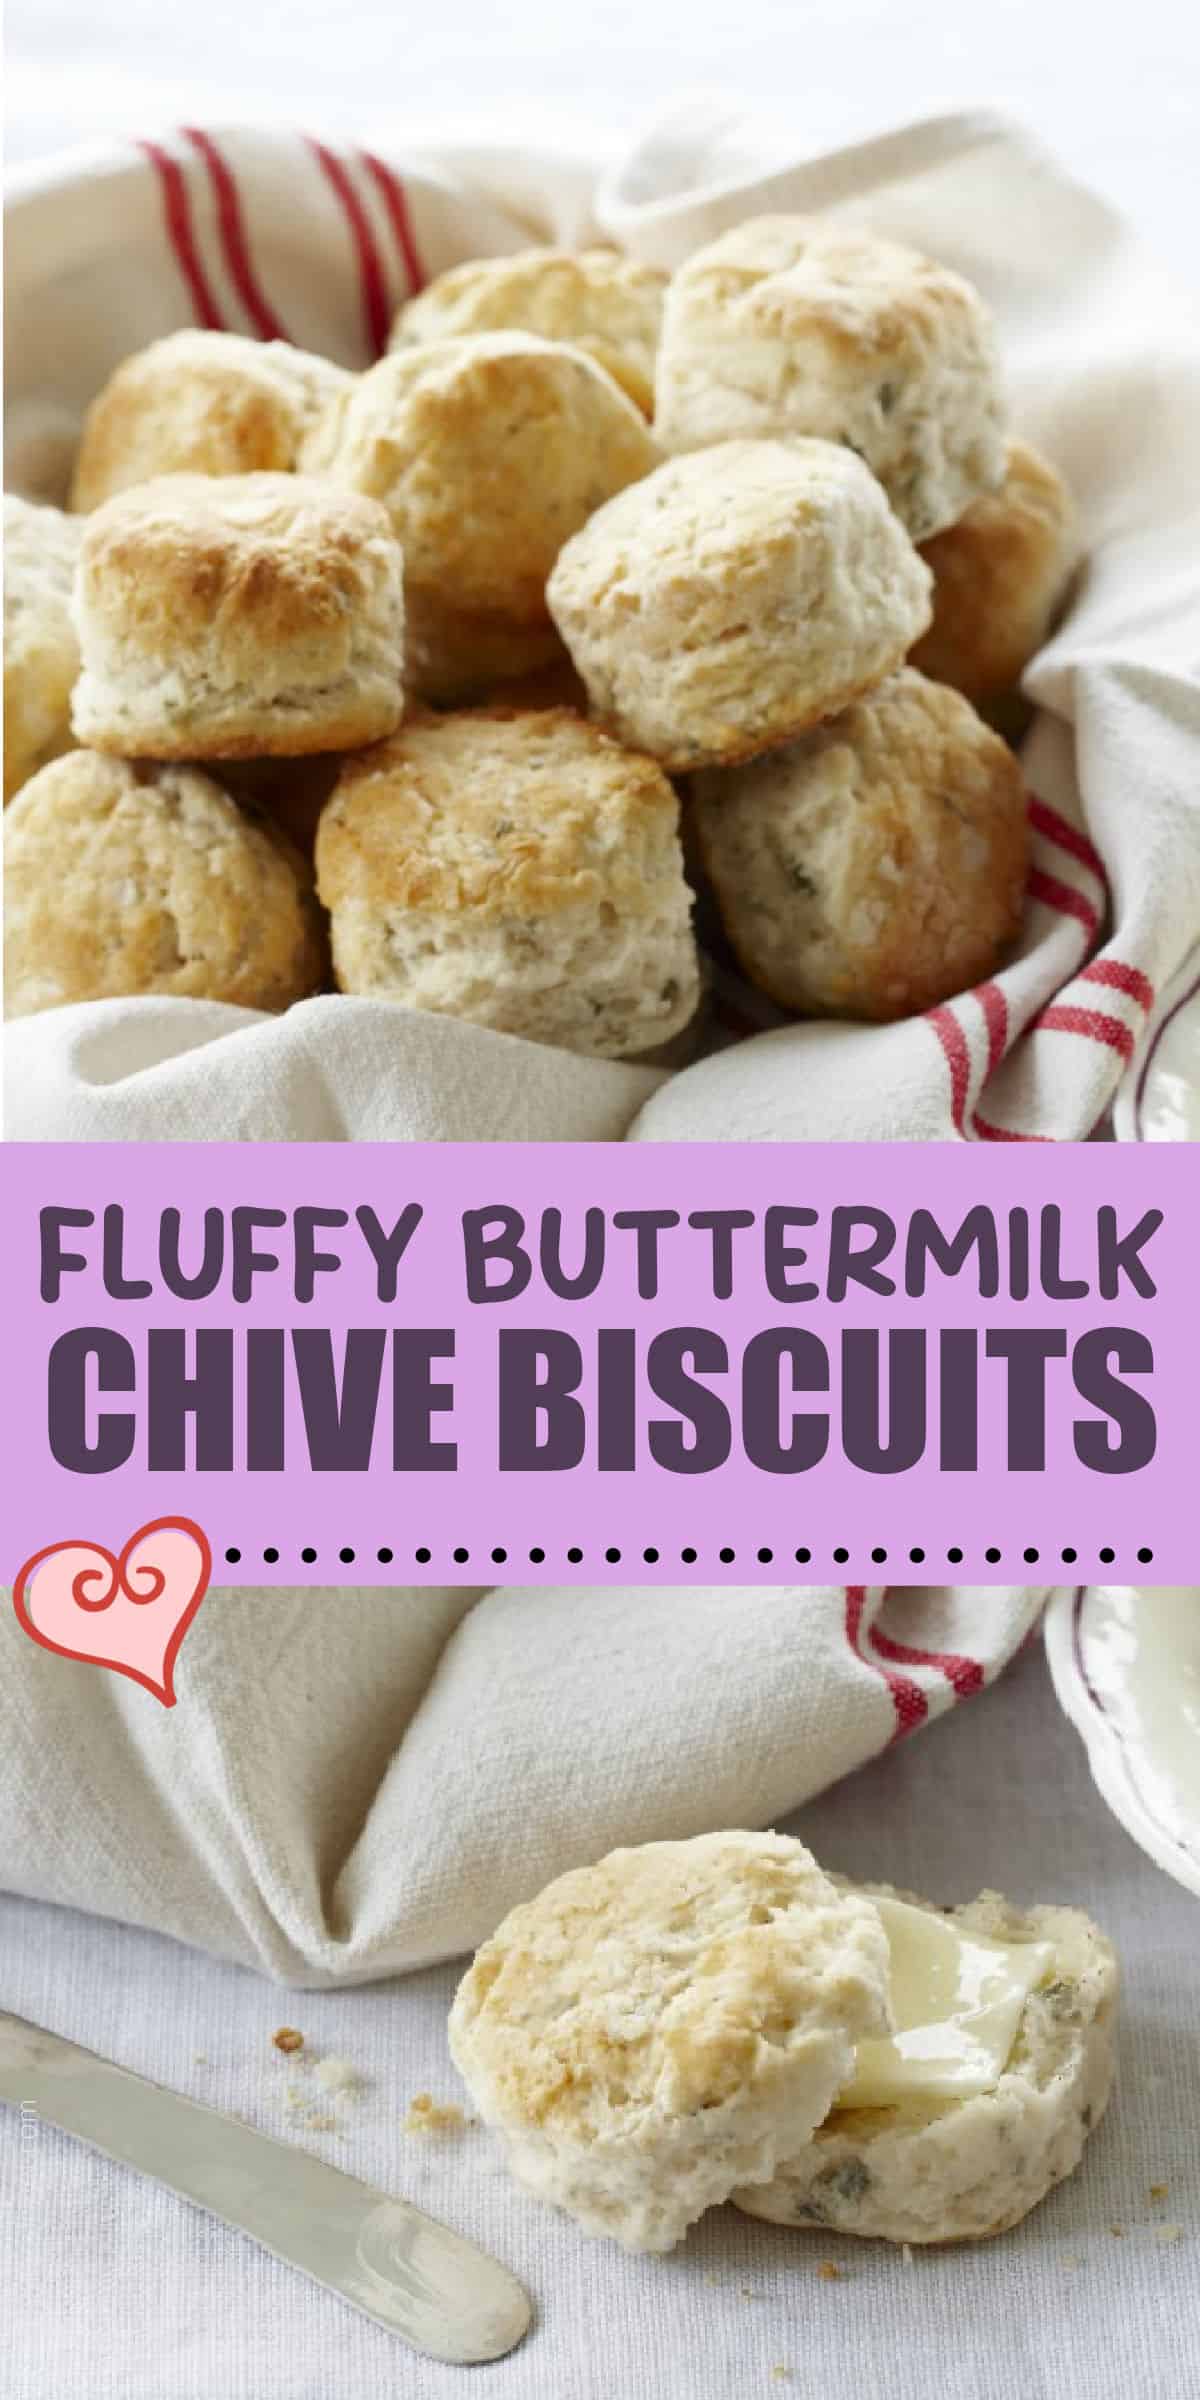
Fluffy Buttermilk Chive Biscuits are easy homemade biscuits made from scratch with cold butter, tangy buttermilk, and plenty of fresh chives. These soft and fluffy buttermilk biscuits bake up golden brown in a cast iron skillet and are ready in no time.

There is nothing quite like pulling a pan of warm Fluffy Buttermilk Chive Biscuits out of the oven! These homemade buttermilk biscuits are soft and fluffy inside with golden brown tops and bottoms. Fresh chives give the biscuits a mild onion flavor that makes them perfect for breakfast, brunch, holidays, or alongside just about any dinner.
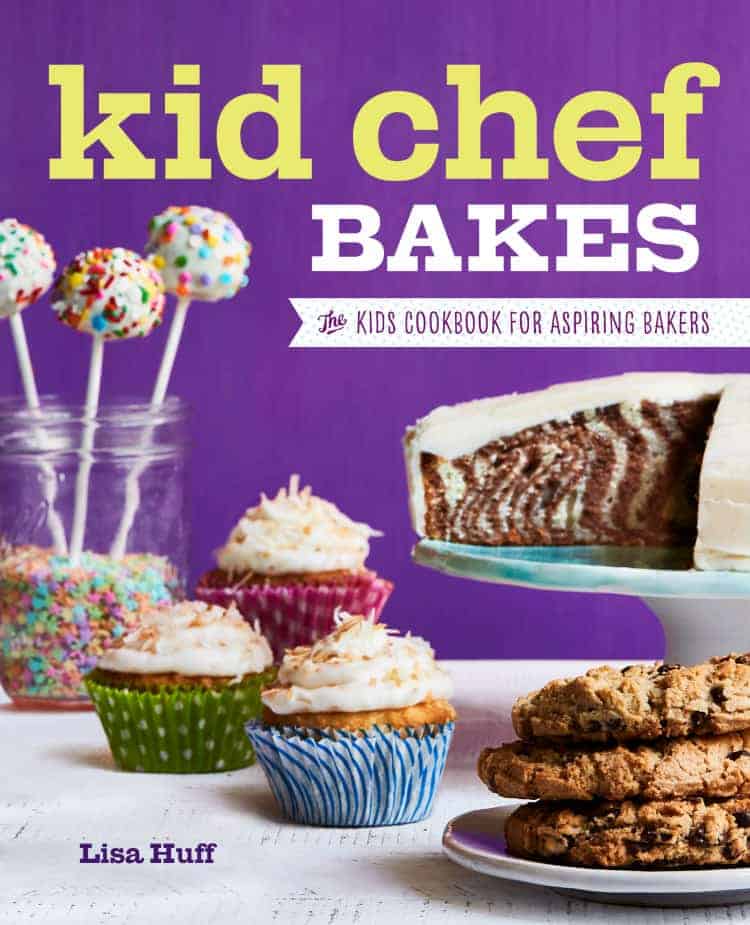
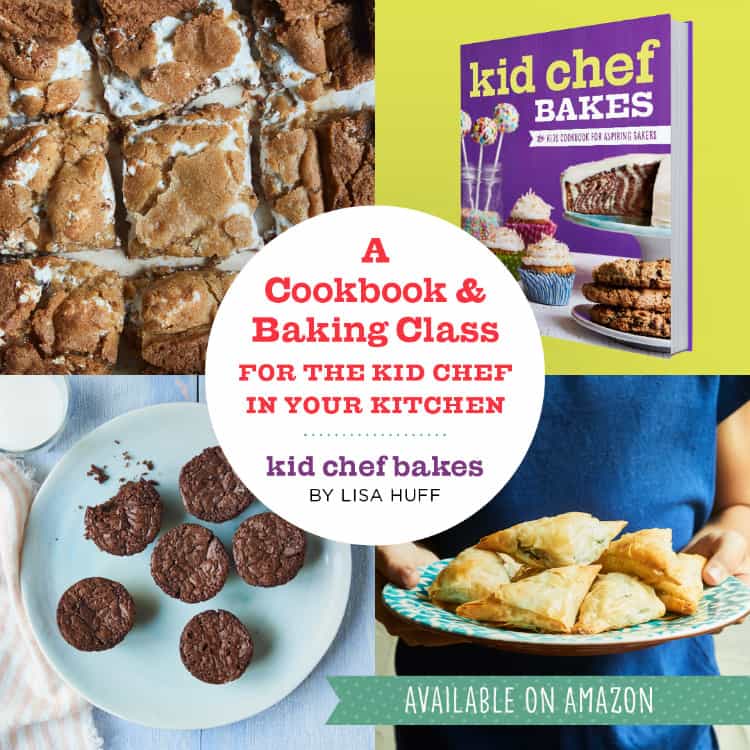
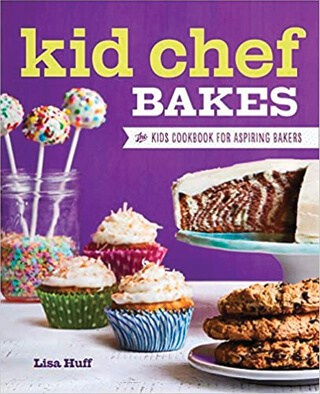
This recipe for Fluffy Buttermilk Chive Biscuits is right from my cookbook, Kid Chef Bakes. The book includes 75+ recipes, including both sweet and savory, such as cookies, cakes, pizza, bread, pies, pastries, and more! The recipes are really great for ALL ages!
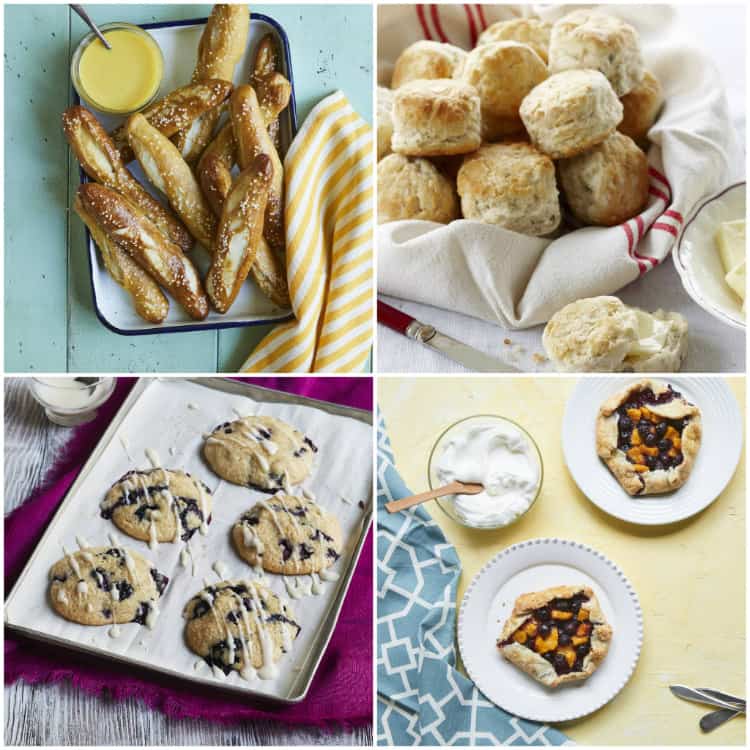
Check out some of my other recipes from the cookbook, including Lemon Loaf Cake, Mini Blueberry Peach Crostatas, Blueberry Muffin Tops, and Soft Pretzel Sticks.
Don’t let homemade biscuits intimidate you. This is an easy biscuit recipe made with simple ingredients, including regular all-purpose flour. No self-rising flour or yeast required!
They’re quick, versatile, and SO good warm from the oven with that melted butter brushed over the top.
The secret to making light and fluffy biscuits comes down to a few little things. Keep the butter and buttermilk cold, don’t overwork the dough, use fresh baking powder, and make sure your oven is fully preheated.
Once you get the hang of homemade biscuits from scratch, they’re surprisingly easy!
What I Love About This Recipe
- These homemade buttermilk biscuits are surprisingly quick and easy. There’s no yeast, rising time, or complicated bread-making technique involved. The biscuits take only 20 minutes to prep and less than 20 minutes to bake. That means you can have warm, fluffy biscuits on the table in well under an hour.
- You don’t need self-rising flour for this biscuit recipe. Regular all-purpose flour and baking powder give the biscuits plenty of lift when you use fresh ingredients and follow a few simple biscuit-making tricks. That’s especially handy if self-rising flour isn’t something you normally keep in your pantry. Simple ingredients for the win!
- Fresh chives give these savory buttermilk biscuits lots of flavor without overpowering them. The mild onion flavor makes the biscuits perfect for breakfast and brunch but also works beautifully with soups, chili, chicken, beef, pork, and holiday dinners. They’re basically the biscuit that goes with everything. You can also swap the chives for other savory additions if you’d like.
- Cold butter and buttermilk help create that light, fluffy biscuit texture everyone loves. The little pieces of cold butter melt as the biscuits bake, helping create pockets in the dough. The buttermilk adds moisture and a slight tang. Together, they’re a great combination for homemade biscuits.
- I love baking these biscuits in a cast iron skillet. Placing the pan on the lowest oven rack helps create those delicious golden brown bottoms. If you prefer softer bottoms, you can move the biscuits toward the middle of the oven instead. No cast iron skillet? A buttered baking sheet works too.
Equipment You May Need
- 10-Inch Cast Iron Pan – The cast iron pan helps give the biscuits delicious golden brown bottoms.
- Large Mixing Bowl – You’ll need plenty of room to combine the dry ingredients, cut in the butter, and stir in the buttermilk.
- Measuring Cups and Spoons – Accurate measurements are especially important when you’re working with flour and baking powder.
- Pastry Cutter – Makes it easy to cut the cold butter into the flour mixture until it resembles coarse crumbs.
- Fork or Two Knives – Either can work in place of a pastry cutter for cutting the cold butter into the flour.
- 2-Inch Round Biscuit Cutter – Helps create approximately 16 evenly sized biscuits.
- Pastry Brush – Handy for brushing the freshly baked biscuits with melted butter.
- Baking Sheet – A good alternative if you don’t have a cast iron skillet.
- Oven Thermometer – Optional, but helpful if you’re not sure your oven is reaching the correct temperature.
Fluffy Buttermilk Chive Biscuits Ingredients
- Butter for Greasing the Pan – Helps keep the biscuits from sticking and contributes to those buttery, golden brown bottoms.
- All-Purpose Flour – No special Southern or self-rising flour needed here. Regular all-purpose flour forms the base of these homemade biscuits.
- Baking Powder – The leavening agent that helps the biscuits rise and become light and fluffy. For the best rise, make sure your baking powder is fresh.
- Salt – Enhances the buttery flavor and balances the biscuits.
- Cold Unsalted Butter – Keep it as cold as possible until you’re ready to use it. You’ll cut 6 tablespoons of cold cubed butter into the flour mixture.
- Fresh Chives – A generous 1/2 cup adds fresh color and a mild savory onion flavor throughout the biscuits.
- Cold Buttermilk – Adds moisture, richness, and that classic buttermilk tang. Start with 1 cup and add more as necessary until the biscuit dough just comes together but remains moist.
- Melted Unsalted Butter – Three tablespoons of melted butter get brushed over the warm biscuits after baking for an extra buttery finish.
How to Make Fluffy Buttermilk Chive Biscuits
Step One: Prepare the Oven and Pan
Preheat the oven to 425 degrees F and set the oven rack at the lowest level. Grease a 10-inch cast iron pan with butter.
Step Two: Mix the Dry Ingredients
In a large bowl, mix together the all-purpose flour, baking powder, and salt until combined.
Step Three: Cut in the Cold Butter
Use a pastry cutter or the back of a fork to cut the 6 tablespoons of cold butter into the flour mixture until it resembles coarse crumbs. Stir in the chopped fresh chives.
Step Four: Add the Buttermilk
Add 1 cup of cold buttermilk and stir to combine, adding more as necessary until the dough just comes together but is still moist. Don’t overwork the biscuit dough or your biscuits may come out dry.
Step Five: Cut the Biscuits
Place the dough on a floured surface and gently press it until it’s about 1 inch thick. Use a 2-inch round cutter to cut the dough into 16 biscuits.
Step Six: Bake and Butter the Biscuits
Place the biscuits next to each other in the prepared cast iron pan and bake on the bottom rack for 12-17 minutes or until golden brown. Brush with the 3 tablespoons of melted butter and cool slightly before serving.
(Full printable recipe card with full details is at bottom of post.)
Why Use Buttermilk in Biscuits?
Buttermilk adds moisture and a delicious subtle tang to homemade biscuits. For this recipe, start with 1 cup cold buttermilk and add more as necessary until the dough just comes together but is still moist.
You may not need the entire 1 1/2 cups. This is why it’s better to add additional buttermilk as needed rather than pouring it all in at once. The goal is moist biscuit dough that holds together without overworking it.
Why Does the Butter Need to Be Cold?
Cold butter is important because you don’t want it to completely blend into the flour before the biscuits go into the oven.
The recipe calls for cutting cold cubed butter into the flour mixture until it resembles coarse crumbs. Those little bits of butter remain throughout the biscuit dough. Then the heat of the oven melts the butter while the biscuits bake. That’s why you should keep your butter cold right up until you need it.
If your kitchen is particularly warm, work quickly so the butter doesn’t soften too much while you’re making the dough.
Can I Make These Biscuits Without a Cast Iron Skillet?
Absolutely. A cast iron pan is my favorite method if you like nicely browned biscuit bottoms.
If you don’t have cast iron, you can bake the biscuits on a buttered sheet pan instead. You can also use another oven-safe skillet.
The location of the pan in the oven makes a difference too. For crisp, golden brown bottoms, put the pan on the lowest oven rack as directed. If you don’t want the bottoms quite as crisp, bake the biscuits more toward the middle of the oven.
Can I Make Plain Buttermilk Biscuits?
If you’re looking for a more traditional buttermilk biscuit without the chive flavor, you could leave out the chives. The chives add flavor but aren’t the ingredient responsible for the biscuits rising.
Plain fluffy buttermilk biscuits are especially versatile for breakfast when you want to serve them with butter, jam, honey, or another favorite spread.
How Thick Should Biscuit Dough Be?
For this recipe, gently press the dough until it is 1 inch thick before cutting the biscuits. Don’t roll the dough super thin. The starting thickness helps give you a nice substantial biscuit.
If you use a different size biscuit cutter, you may end up with more or fewer biscuits than the recipe’s yield of 16. A different biscuit size may also require an adjustment to the baking time, so keep an eye on them.
How Do You Know When Buttermilk Biscuits Are Done?
Bake the biscuits for 12-17 minutes at 425 degrees F, or until they’re golden brown. The exact baking time can vary a little depending on your oven and the pan you use.
Once the biscuits are done, brush the tops with the 3 tablespoons of melted butter. That final butter brushing gives them an extra-rich, buttery finish and makes them pretty hard to resist while they’re still warm!
Serving Suggestions
- Serve them warm for breakfast or brunch with butter, eggs, bacon, sausage, or other breakfast favorites.
- They’re also a delicious bread option alongside soups, stews, chili, roasted chicken, pork, beef, or comfort-food dinners.
- For the holidays, add a basket of warm chive biscuits to your Thanksgiving, Christmas, or Easter dinner table.
- You can also split a biscuit and turn it into a little breakfast sandwich with egg, cheese, and your favorite breakfast meat.
- Or keep things super simple. Warm biscuit. Little butter. Done!
Quick Tips for Best Results
- Keep everything cold. Cold butter and cold buttermilk are two of the keys to making fluffy buttermilk biscuits.
- Check your baking powder. Fresh baking powder helps the biscuits rise properly.
- Preheat the oven completely. You want the biscuits going straight into a hot 425 degree F oven.
- Don’t overmix. Add the buttermilk and stir only until the biscuit dough comes together.
- Add buttermilk gradually. Start with 1 cup and add more only as needed until the dough is moist and holds together.
- Don’t knead the dough. Gently press it to 1 inch thick rather than aggressively working it.
- Cut straight down. Push your biscuit cutter down and pull it straight back up rather than twisting it.
- Be gentle with scraps. Bring the scraps together just enough to cut additional biscuits.
- Use the bottom rack for browning. This helps create crisp, golden brown biscuit bottoms in the cast iron skillet.
- Brush with butter. Don’t skip that melted butter over the freshly baked biscuits!
Fluffy Buttermilk Chive Biscuits FAQ
How should I store Fluffy Buttermilk Chive Biscuits?
Let the biscuits cool completely, then keep them well covered so they don’t dry out. For the best texture, warm leftover biscuits slightly before serving.
Can you freeze Fluffy Buttermilk Chive Biscuits?
Cool the baked biscuits completely first and wrap them well before freezing. Thaw and reheat before serving.
How long will the biscuits last?
These homemade biscuits are at their very best when they’re fresh and still a little warm from the oven. Keep leftovers well covered and enjoy them as soon as possible for the best flavor and texture. They should be ok for a few days at room temperature or a few months in the freezer.
Substitutions?
Instead of chives, you can use cooked bacon, shredded cheese, or chopped precooked onion. You can also try a combination of those.
Can I use low-fat ingredients?
The recipe was developed with buttermilk and butter, which both contribute to the flavor and texture, so changing those ingredients may change the final biscuits.
What else can I add to this recipe?
Try chopped cooked bacon, shredded cheese, precooked chopped onion, or a combination. Cheddar and chives would be an easy flavor combination, and bacon, cheddar, and chives would make these biscuits extra savory.
Can I make this vegan/vegetarian/low carb/gluten-free?
Here are some suggestions, but I can’t guarantee results. Be sure as always to check particular brands and ingredients if you’re following a specific diet or have diet restrictions or allergies.
Vegan – These would be tough to make vegan since you really need butter and buttermilk.
Vegetarian – It’s vegetarian. Be sure to check individual brands/products just to be sure.
Low-Carb – This would be a tough one to make low-carb.
Gluten-Free – You can try a gluten-free flour blend, but I have not tried so I cannot guarantee results.
Other Recipes You May Enjoy
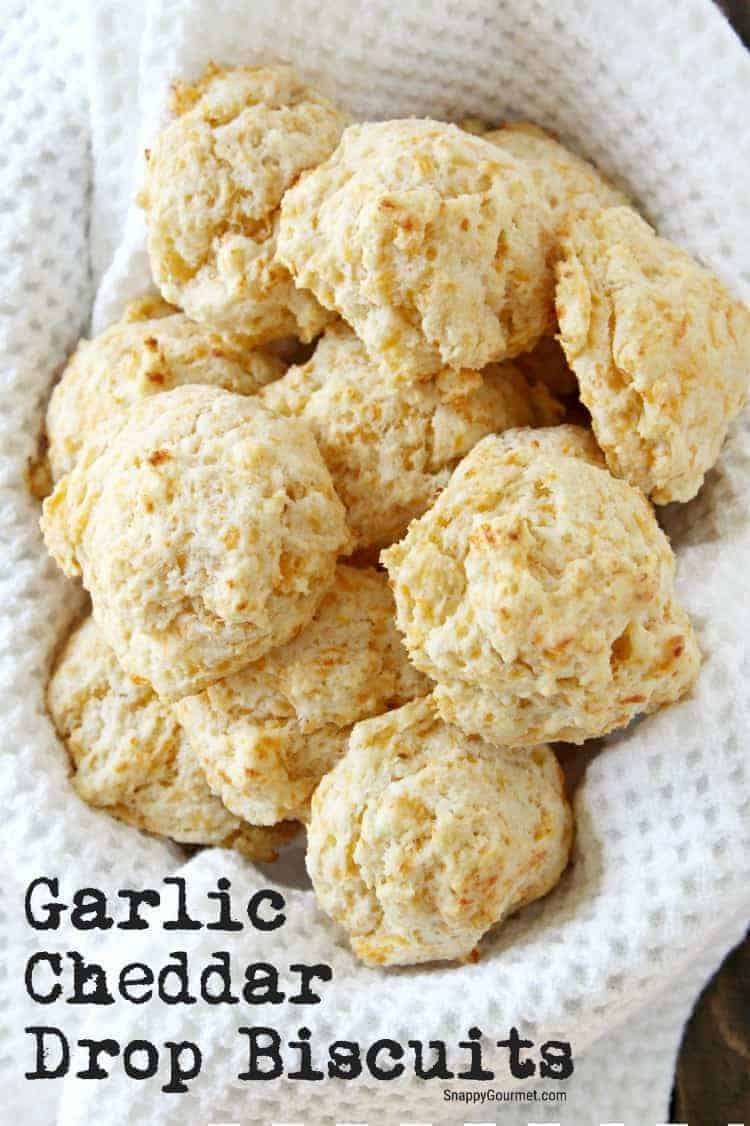
- Garlic Cheddar Drop Biscuits – Another homemade savory biscuit option that’s perfect when you’re craving cheesy garlic flavor.
- Gluten-Free Cheddar Bay Biscuits – Easy homemade drop biscuits inspired by the popular Red Lobster biscuits and a great option when you need a gluten-free biscuit recipe.
- Homemade Cheddar, Chive, and Sausage Biscuits – Easy drop biscuits packed with cheddar, chives, and sausage that are especially good for breakfast or brunch.
- Mini Cheddar Biscuit Muffins – Easy bite-size bread that’s a fun cross between biscuits and muffins, with no yeast required.
- Homemade Dinner Rolls – Quick Italian Parmesan homemade dinner rolls that are ready in about an hour.
- Mini Pretzel Rolls with Bacon Cheddar Butter Spread – A fun homemade bread option with a savory bacon cheddar spread.
- Garlic Red Mashed Potato Focaccia – An easy homemade focaccia packed with savory garlic and potato flavor.
These Fluffy Buttermilk Chive Biscuits are proof that homemade biscuits don’t have to be difficult. Keep your ingredients cold, handle the dough gently, and get that oven nice and hot, and you’ll be on your way to soft, fluffy, buttery biscuits with plenty of fresh chive flavor.
Fluffy Buttermilk Chive Biscuits
Ingredients
- Butter for greasing pan
- 2 7/8 cups all-purpose flour (7/8 cup = 3/4 cup + 2 Tablespoons)
- 4 1/2 teaspoons baking powder
- 1 teaspoon salt
- 6 tablespoons cold unsalted butter cubed
- 1/2 cup chopped fresh chives
- 1 – 1 1/2 cups cold buttermilk
- 3 tablespoons unsalted butter melted
Instructions
- Preheat oven to 425 degrees F. Set the oven rack at the lowest level. Grease a 10-inch cast iron pan with butter.
- Mix the dry ingredients. In a large bowl, mix together the flour, baking powder, and salt until combined.
- Cut in the butter. Using a pastry cutter or back of a fork, cut in the 6 tablespoons of cold butter, until the mixture resembles coarse crumbs. Stir in the chives.
- Add the wet ingredients. Add 1 cup buttermilk to the flour mixture. Stir to combine, and add more milk as necessary until the dough just comes together but is still moist. Be careful not to overwork the dough or the biscuits may come out dry.
- Form the biscuits. Place the dough on a floured surface. Gently press the dough until 1 inch thick. With a 2-inch round cutter, cut the dough into 16 biscuits.
- Bake the biscuits. Place the biscuits next to each other in the prepared pan. Bake on the bottom rack for 12-17 minutes or until golden brown. Brush with the 3 tablespoons melted butter. Cool slightly before serving.
Notes
- Be sure to keep your butter cubes and buttermilk as cold as possible before mixing them into the other ingredients.
- If you don’t have a cast iron pan, you can also bake these biscuits on a buttered sheet pan.
- Instead of chives, you can use chopped cooked bacon, shredded cheese, or even chopped precooked onion.
Nutrition:
(Nutrition data is provided when available for informational purposes only and calculated using an online nutritional calculator. For the most accurate information please calculate based on specific ingredients and brands you use as well as any changes you made to the recipe. I am not a certified nutritionist or registered dietician and any nutritional information provided should only be used as a general guideline and estimate.)

About Lisa Huff
Lisa Huff is a Cookbook Author, Freelance Recipe Developer, Food Photographer, Blogger/Writer, and award-winning home chef. She loves creating unique recipes from healthy to decadent including cocktails, appetizers, main dishes, dessert recipes and more and has appeared on various shows, publications, and websites.











Biscuits are my kryptonite! I love them! Buttermilk and chive sounds divine!
My family loves biscuit.. I can’t wait to try this soon <3
These look so delicious. I love me a great biscuit so I’ll have to make this recipe real soon.
How cool is this my grandson loves cooking so this book will becomes very handy must buy it or include it in my list this Christmas