
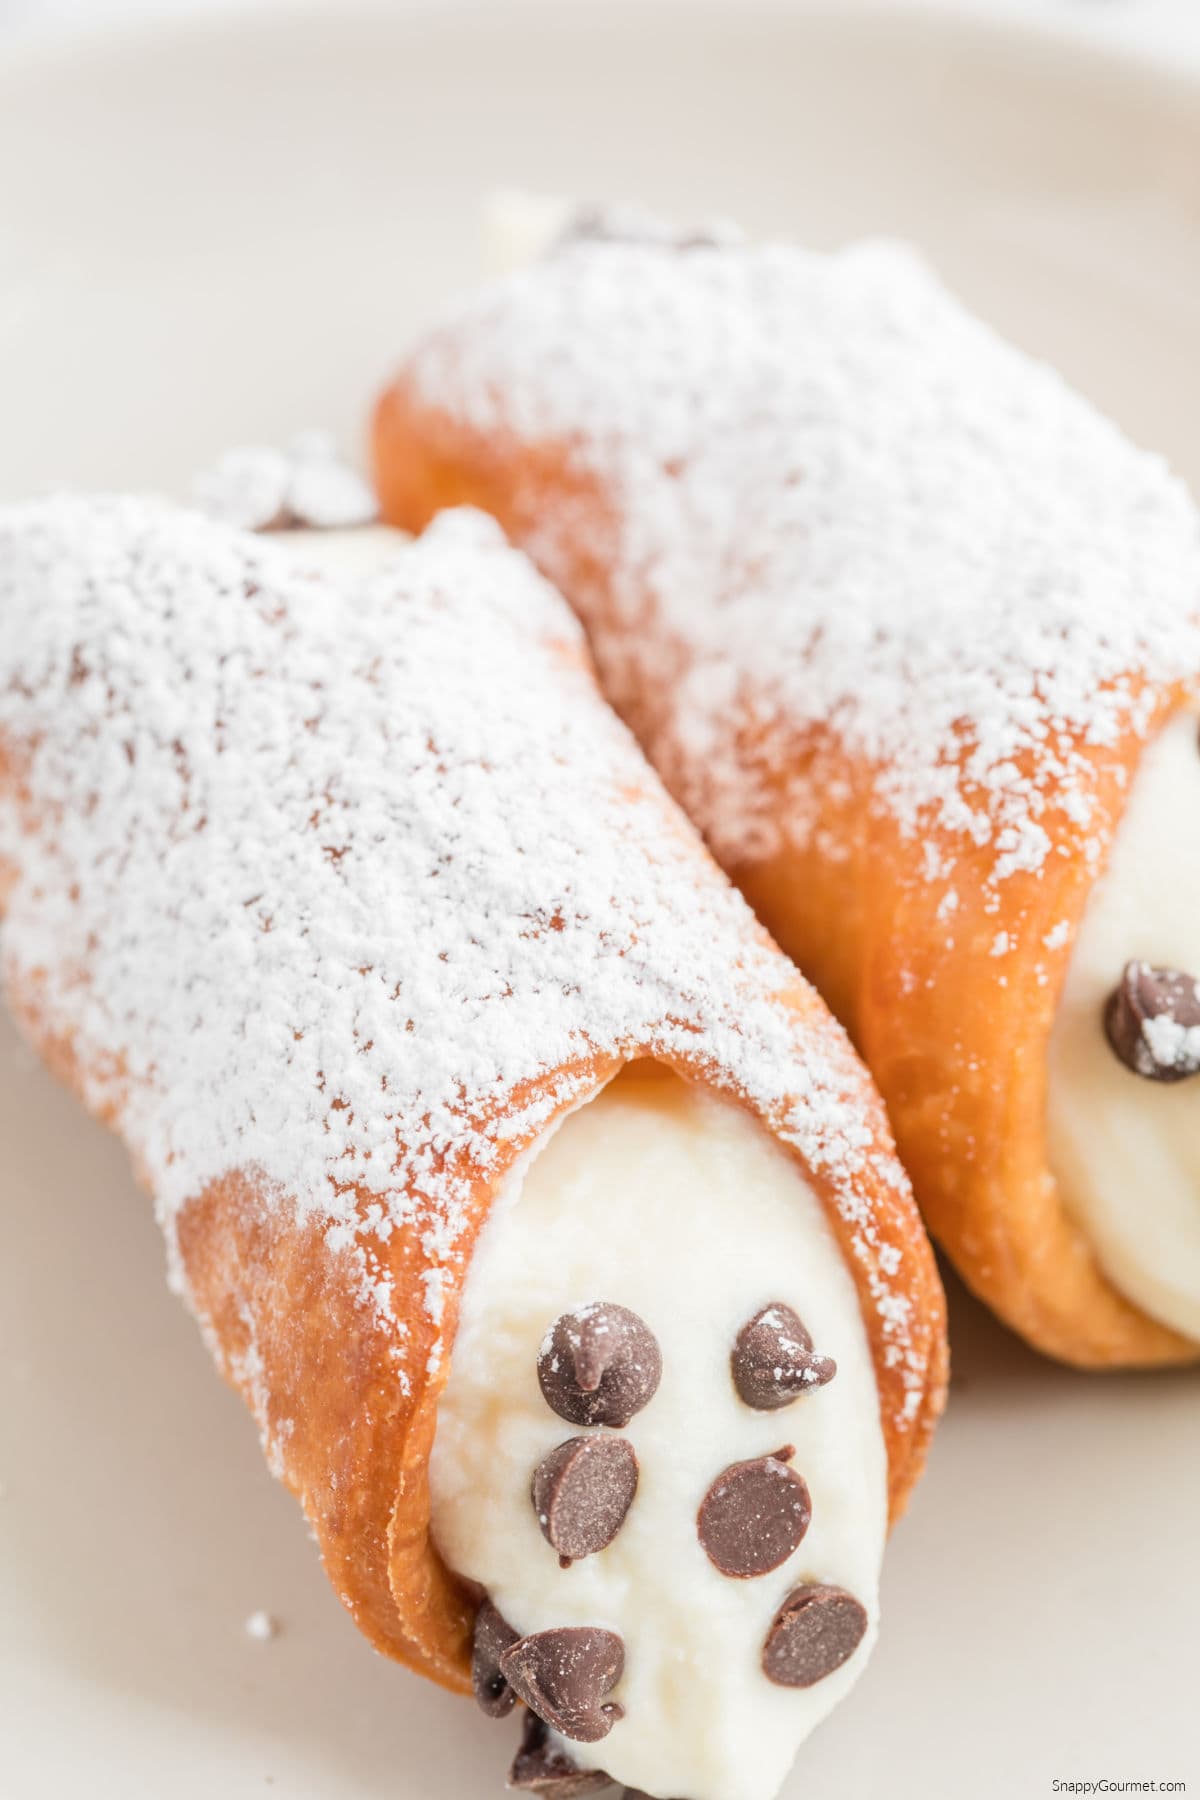
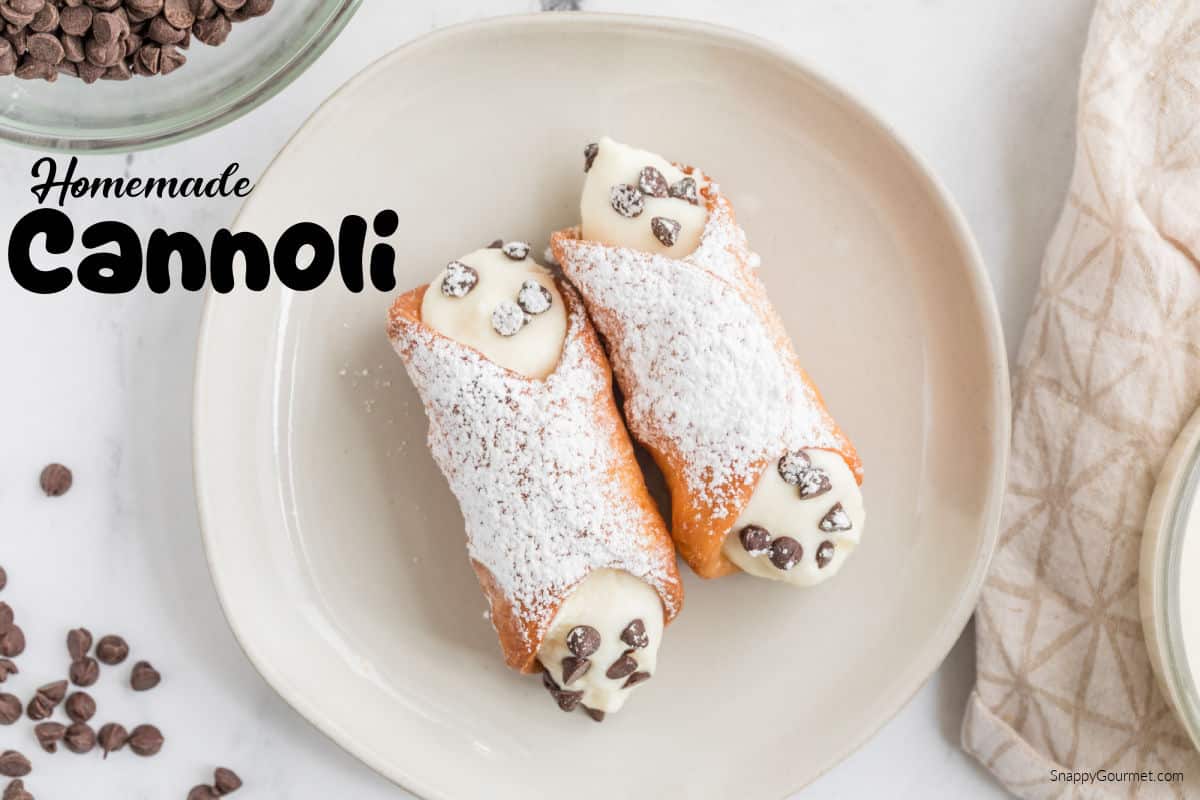
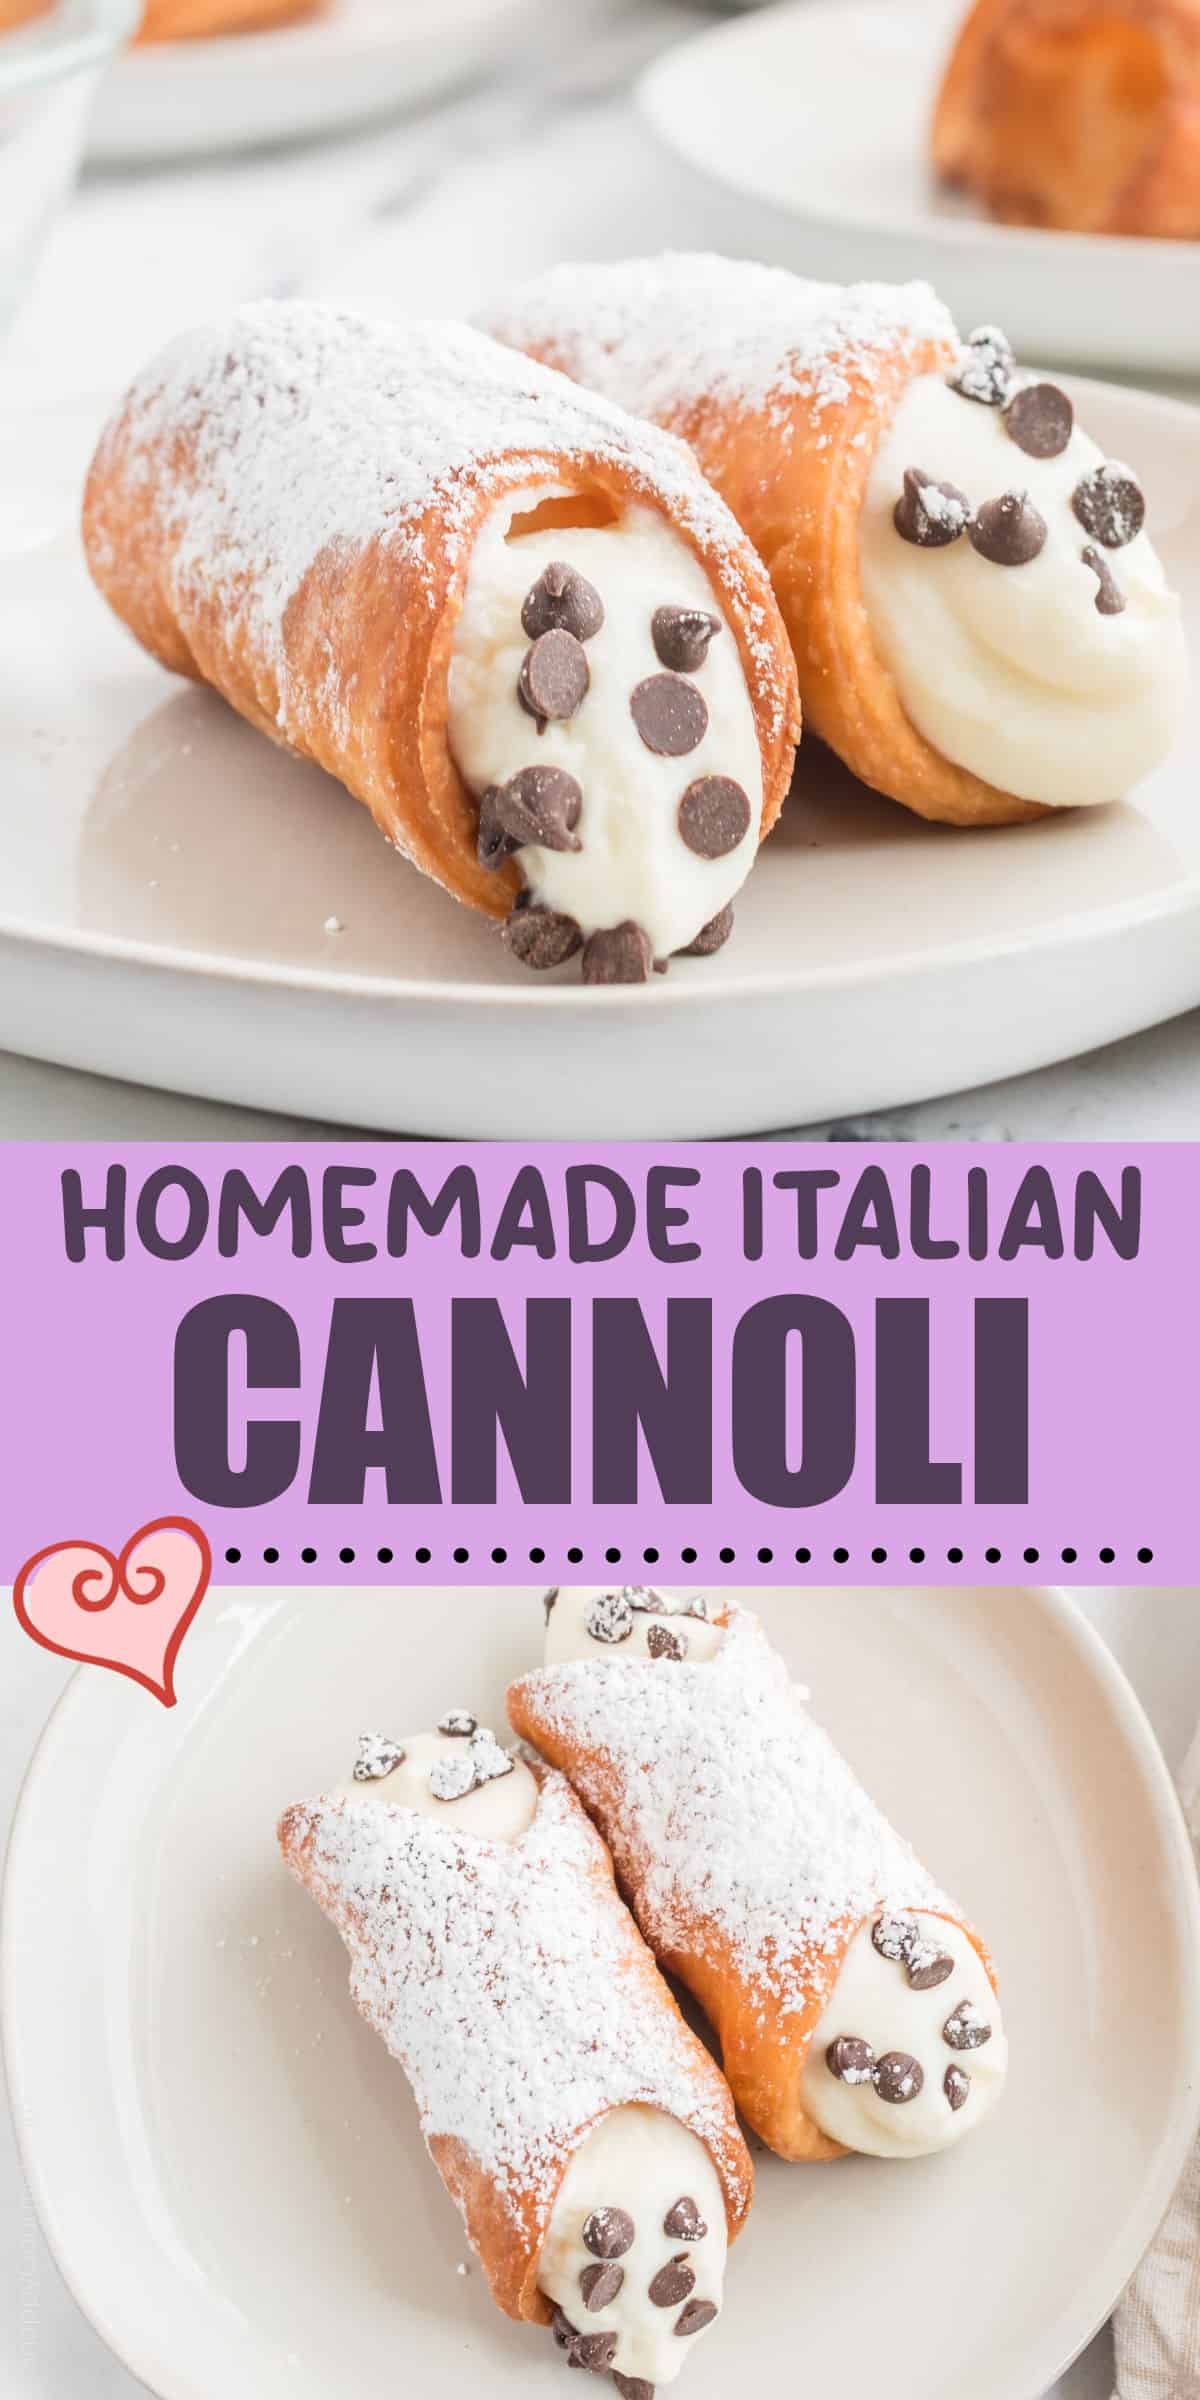
Cannoli, a classic Italian dessert made with crispy homemade fried pastry shells and a sweet, creamy ricotta filling with chocolate chips, orange zest, vanilla, and cinnamon. Learn how to make this delicious dessert at home for a special treat.
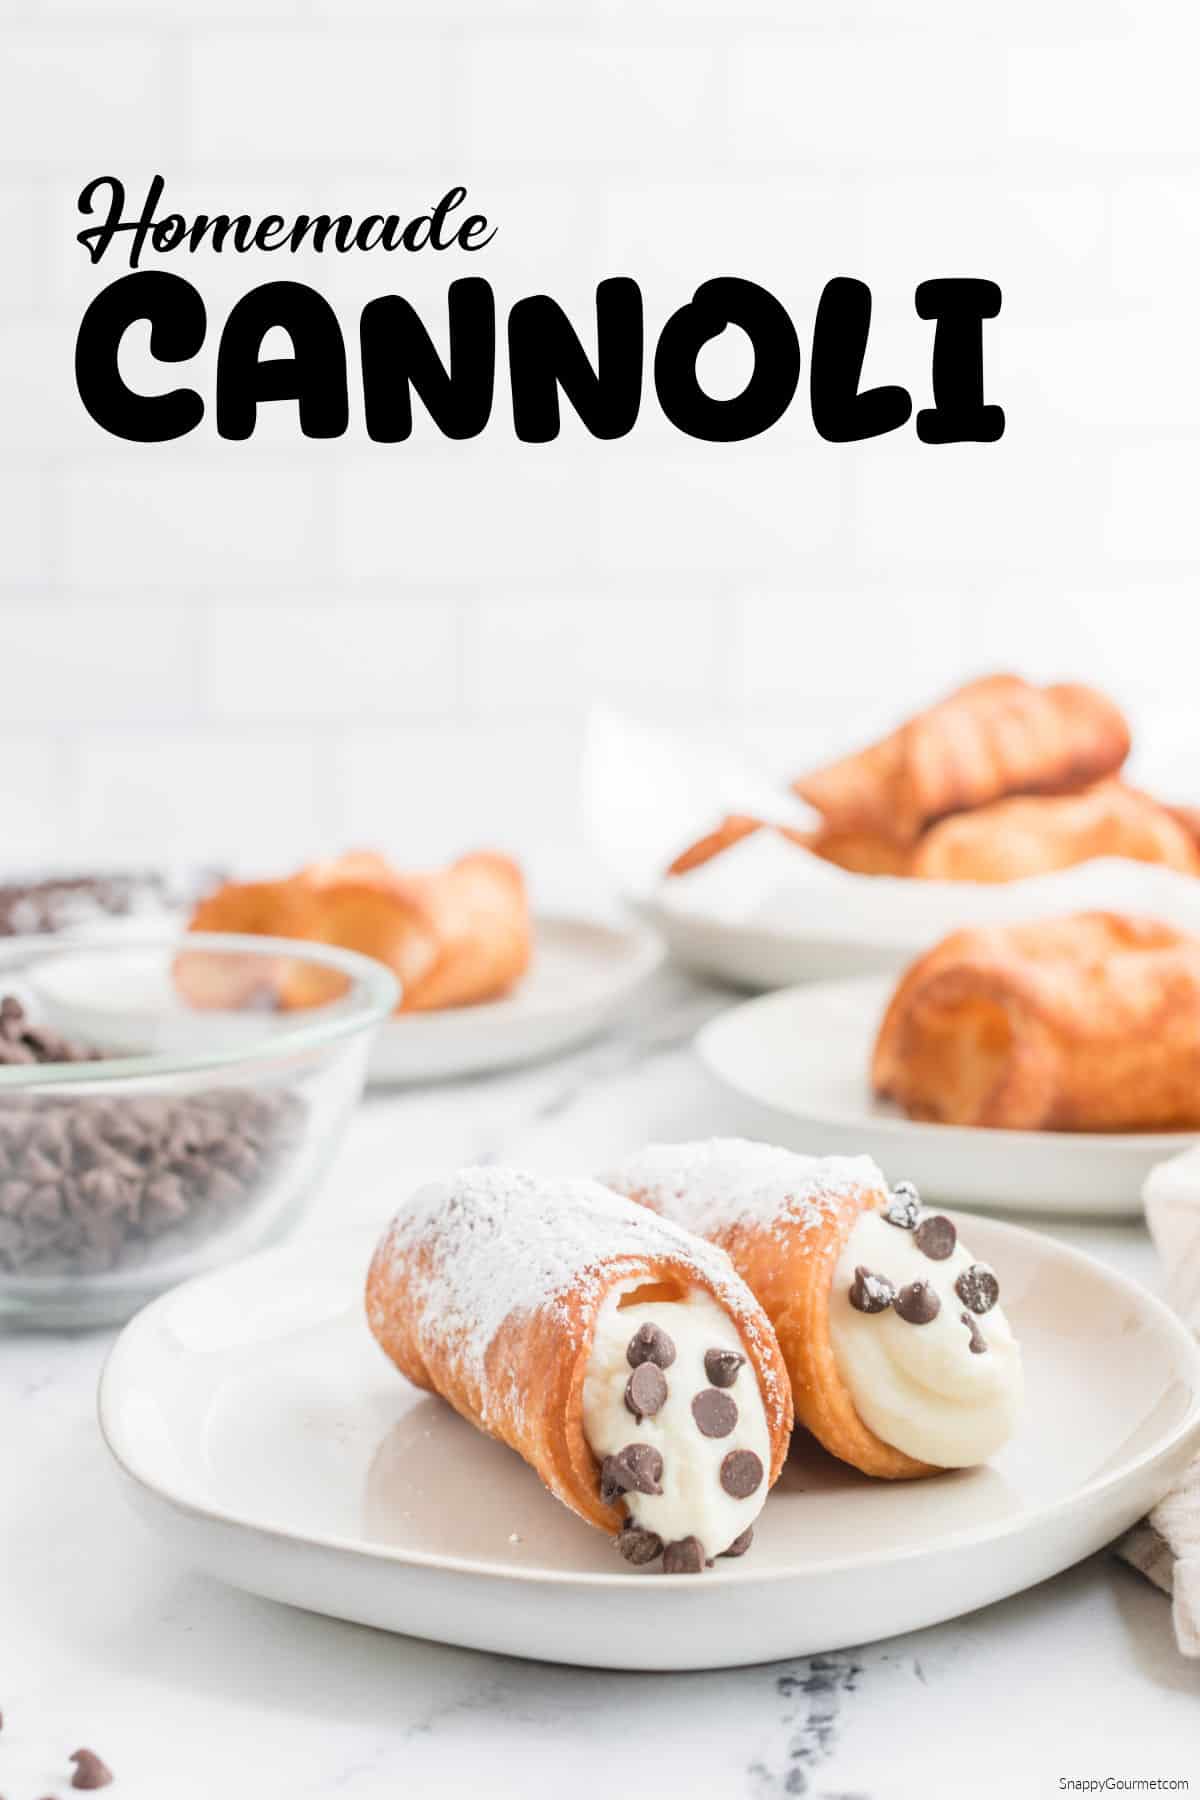
Cannoli are hands down one of my favorite Italian desserts. There’s just something about that combination of a light, crispy fried pastry shell and rich, creamy ricotta filling that is SO good.
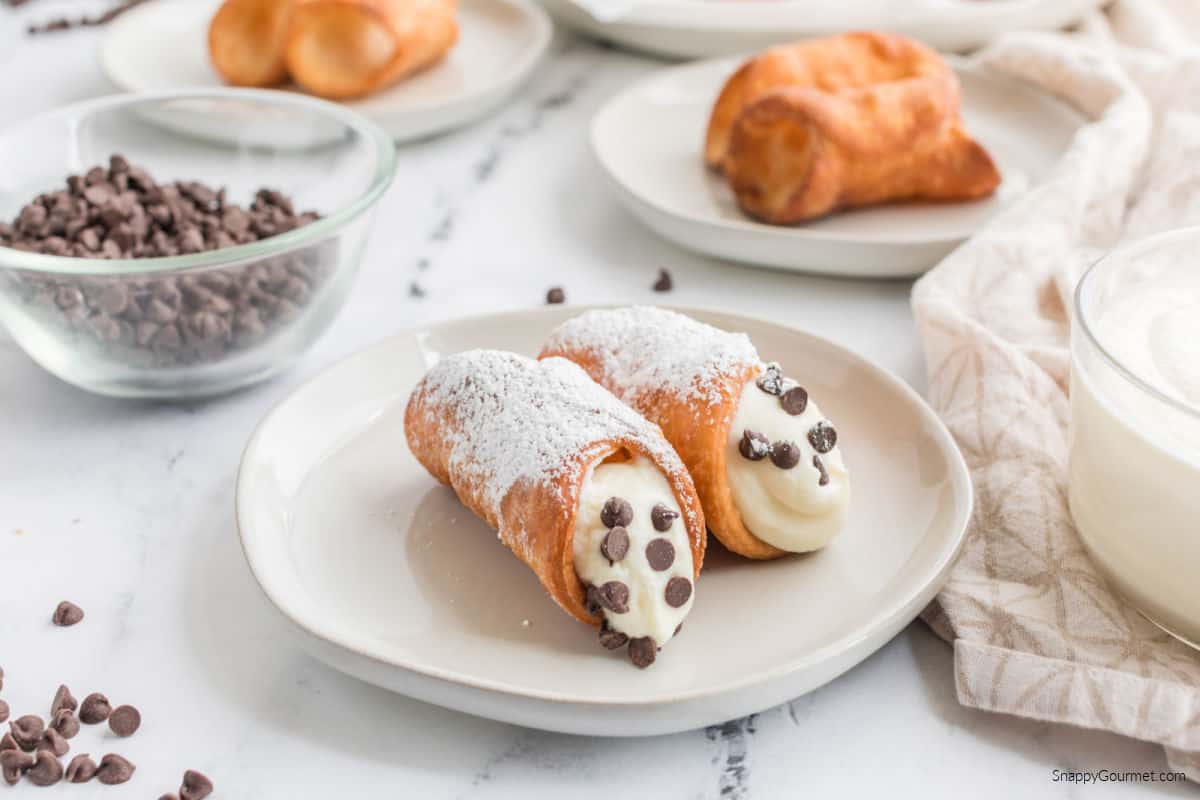
And while you can certainly buy cannoli from an Italian bakery or grocery store, making homemade cannoli from scratch is a fun project when you have a little extra time. You’ll make both parts from scratch, including the crispy shells and the creamy filling.
If you’ve made my homemade Cannoli Shells and Cannoli Cream before, this recipe brings the two together into one complete homemade cannoli recipe. The shells start with a simple pastry dough made with flour, brown sugar, butter, egg, and Marsala wine, then they’re wrapped around metal cannoli tubes and fried until golden and crispy.
For the filling, ricotta cheese combines with homemade whipped cream, powdered sugar, vanilla, fresh orange zest, cinnamon, and mini chocolate chips. Pipe that creamy ricotta filling into the cooled shells, and you have one impressive Italian pastry!
Making cannoli does take a little time, but most of the steps aren’t difficult. And once you’ve made your own fresh crispy shells, it’s hard to beat them.
What are Cannoli?
Cannoli are a popular Italian pastry traditionally associated with Sicily. The dessert consists of fried tube-shaped pastry shells filled with a sweet, creamy filling generally made with ricotta cheese and sugar.
Although you’ll often hear “cannolis” in the United States, cannoli is actually plural. Cannolo is singular and refers to one pastry.
There are countless versions of cannoli, and what belongs in an “authentic” or “traditional” cannoli can definitely be a topic of debate. Depending on the recipe, the ricotta filling may include chocolate, pistachios, candied fruit, citrus, cinnamon, vanilla, mascarpone, or other flavorings.
My homemade version combines some of my favorite cannoli flavors, including ricotta, chocolate, orange, cinnamon, and vanilla. I also fold whipped cream into the ricotta mixture for a light and creamy filling.
What I Love About This Recipe
- This Cannoli recipe gives you the full homemade experience from start to finish. You’re not just making an easy ricotta filling and putting it into store-bought shells. You make the cannoli shell dough, roll it, fry the shells, and prepare the cannoli cream yourself. If you’ve always wanted to learn how to make cannoli from scratch, this recipe walks you through the entire process.
- The contrast between the crispy cannoli shells and creamy ricotta filling is what makes this dessert so good. Freshly fried shells have a delicate crunch that you don’t always get from packaged shells that have been sitting around for a while. Add the smooth cannoli cream and mini chocolate chips, and you get plenty of different textures in every bite. Just be sure to fill the shells shortly before serving so they stay crisp.
- The cannoli filling has so much flavor without being complicated. Ricotta cheese and whipped heavy cream create the creamy base, while powdered sugar adds sweetness. Vanilla, fresh orange zest, and cinnamon add that unmistakable cannoli-inspired flavor, and mini chocolate chips finish everything off. You can even add more chocolate chips to the ends for a little extra chocolate.
- Homemade cannoli are also easy to customize once you know the basic process. You can decorate the ends with chocolate chips, chopped pistachios, or other favorite toppings. Dust the finished cannoli with powdered sugar or drizzle the shells with melted chocolate. There are so many ways to make them your own.
What Makes a Good Cannoli?
For me, a great cannoli is all about the contrast between the shell and filling.
The pastry shell should be thin and crispy rather than thick, doughy, or soggy. Rolling the dough thin and maintaining the correct frying temperature are both important for getting that crisp texture.
Then there’s the cannoli cream. The filling should be thick enough to stay inside the pastry rather than running out the ends. That’s why your ricotta cheese matters so much. If the ricotta is watery or runny, strain it before making the filling. See my post on how to strain ricotta cheese for more information.
And perhaps most importantly, don’t fill the shells too far ahead of serving. Once the creamy filling sits inside the pastry, the shells naturally begin to soften.
For the best homemade cannoli, keep the crispy shells and ricotta filling separate until you’re ready to assemble and serve.
Equipment You May Need
- Cannoli Form Tubes – Metal cannoli tubes, sometimes called cannoli forms or molds, give the pastry its classic tube shape while frying.
- Rolling Pin – You’ll need a rolling pin to get the cannoli dough nice and thin before cutting it.
- 4-Inch Round Cutter – A round cookie or biscuit cutter makes the approximately 4-inch dough rounds for these cannoli shells.
- Large Mixing Bowls – You’ll need bowls for both the cannoli shell dough and ricotta cream filling.
- Pastry Cutter – Helpful for working the cold cubed butter into the flour mixture until crumbly. Your hands can also do the job.
- Large Heavy Pot or Dutch Oven – A sturdy deep pot gives you plenty of room for safely frying the cannoli shells.
- Thermometer – Helpful for monitoring the frying oil and keeping it around 365 degrees F.
- Long Tongs or Spider Strainer – Makes it easier to carefully lower the cannoli molds into the hot oil and remove them after frying.
- Electric Mixer – Makes quick work of whipping the cold heavy cream for the cannoli filling.
- Zester – An inexpensive zester is perfect for getting the fresh orange zest.
- Pastry Bag – One of the easiest ways to pipe cannoli cream into both ends of the cooled shells. A resealable bag with a corner cut off also works.

(Full printable recipe card is at bottom of post.)
Cannoli Ingredients
For the Cannoli Shells
- All-Purpose Flour – The base of the homemade cannoli shell dough. Keep a little extra flour handy for dusting your work surface.
- Light Brown Sugar – Adds a little sweetness to the fried pastry shells.
- Salt – Just a small amount balances the other ingredients.
- Unsalted Butter – Keep the butter cold and cube it before working it into the flour mixture.
- Eggs – One beaten egg goes into the pastry dough, while the remaining beaten egg helps seal the dough around the cannoli molds.
- Marsala Wine – A classic ingredient in cannoli shell dough that adds flavor. Dry white wine can also be used as noted in the recipe.
- Vegetable Oil – Used for deep frying the cannoli shells until golden brown and crispy.
For the Cannoli Filling
- Heavy Cream – Whipped until stiff peaks just begin to form, then folded into the ricotta mixture for a light and creamy filling.
- Ricotta Cheese – The star of the homemade cannoli cream. If your ricotta is runny, strain it overnight before making the filling.
- Powdered Sugar – Sweetens the ricotta filling and blends into it easily.
- Vanilla Extract – Adds a familiar sweet vanilla flavor.
- Fresh Orange Zest – A small amount adds wonderful citrus flavor without making the filling overly orange flavored.
- Cinnamon – Adds a little warmth and another classic cannoli-inspired flavor.
- Mini Chocolate Chips – Folded into the ricotta cream and perfect for decorating the ends of the finished cannoli too.

How to Make Cannoli
Cannoli Shells
Step One: Mix the Dry Ingredients
In a large mixing bowl, whisk together the flour, brown sugar, and salt.
Step Two: Work in the Butter
Add the cold cubed butter and work it into the flour mixture with a pastry cutter or your hands until crumbly.
Step Three: Make the Dough
Add the Marsala wine and 1 beaten egg. Stir until everything is well combined and the dough comes together.
Step Four: Chill the Dough
Form the dough into a flat disc, wrap it in plastic wrap, and refrigerate for at least one hour.
Step Five: Roll the Dough
Working with about a quarter to half of the dough at a time, roll it on a lightly floured surface until thin, about 1/4-inch thick or less. Keep the remaining dough refrigerated until you’re ready for it.
Step Six: Cut the Shells
Use a floured 4-inch round cookie or biscuit cutter to cut the dough into circles. Continue rolling and cutting the remaining dough.
Step Seven: Wrap the Cannoli Forms
Wrap one dough round around a metal cannoli tube. Brush the overlapping edge with the remaining beaten egg and gently press to seal.
Step Eight: Heat the Frying Oil
Fill a large heavy pot or Dutch oven with a few inches of vegetable oil and heat it over medium-high heat to 365 degrees F.
Step Nine: Fry the Cannoli Shells
Carefully place a few dough-wrapped molds into the hot oil and fry for about 3 minutes or until golden brown, turning halfway through as needed. Don’t overcrowd the pot and keep an eye on the oil temperature.
Step Ten: Cool the Fried Shells
Remove the cannoli shells from the oil with long tongs or a spider strainer and transfer them to a paper towel-lined surface. Repeat with the remaining shells.
Step Eleven: Remove the Cannoli Molds
Once the shells are cool, gently squeeze the molds and very carefully twist the pastry shells until they slip off.
Step Twelve: Cool Completely
Let the homemade cannoli shells cool completely before adding the filling.
Cannoli Cream Filling
Step Thirteen: Chill the Bowl and Beaters
Place a large mixing bowl and beaters in the freezer for a few minutes while you prepare the filling ingredients.
Step Fourteen: Whip the Heavy Cream
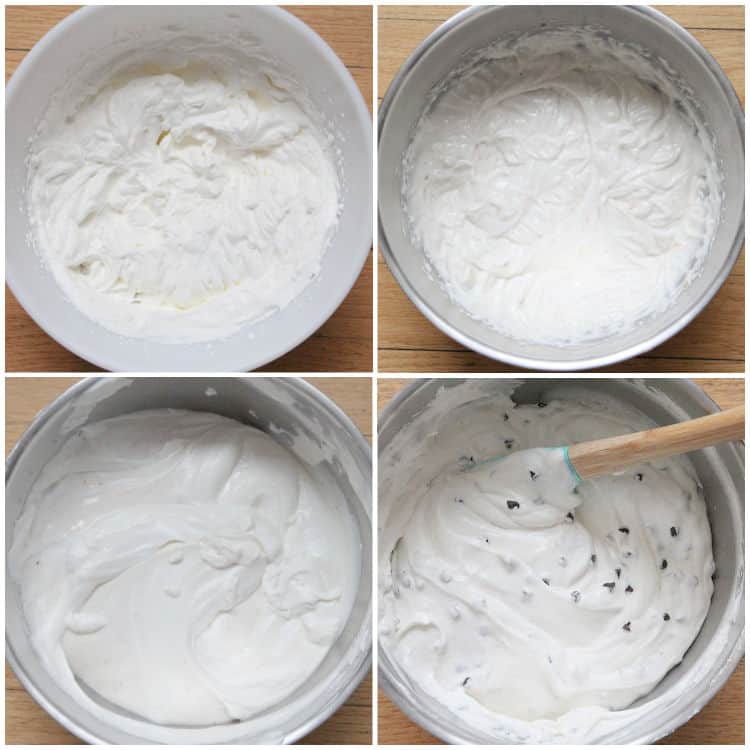
Pour the cold heavy cream into the chilled bowl and beat with the cold beaters until stiff peaks just begin to form. Set aside.
Step Fifteen: Make and Pipe the Cannoli Filling
Mix the thick or strained ricotta, powdered sugar, vanilla, orange zest, and cinnamon until just combined. Fold in the whipped cream and mini chocolate chips, then use a pastry bag or resealable bag with a corner cut off to fill the cooled cannoli shells as desired.
(Full printable recipe card with full details is at bottom of post.)
How to Fill Cannoli
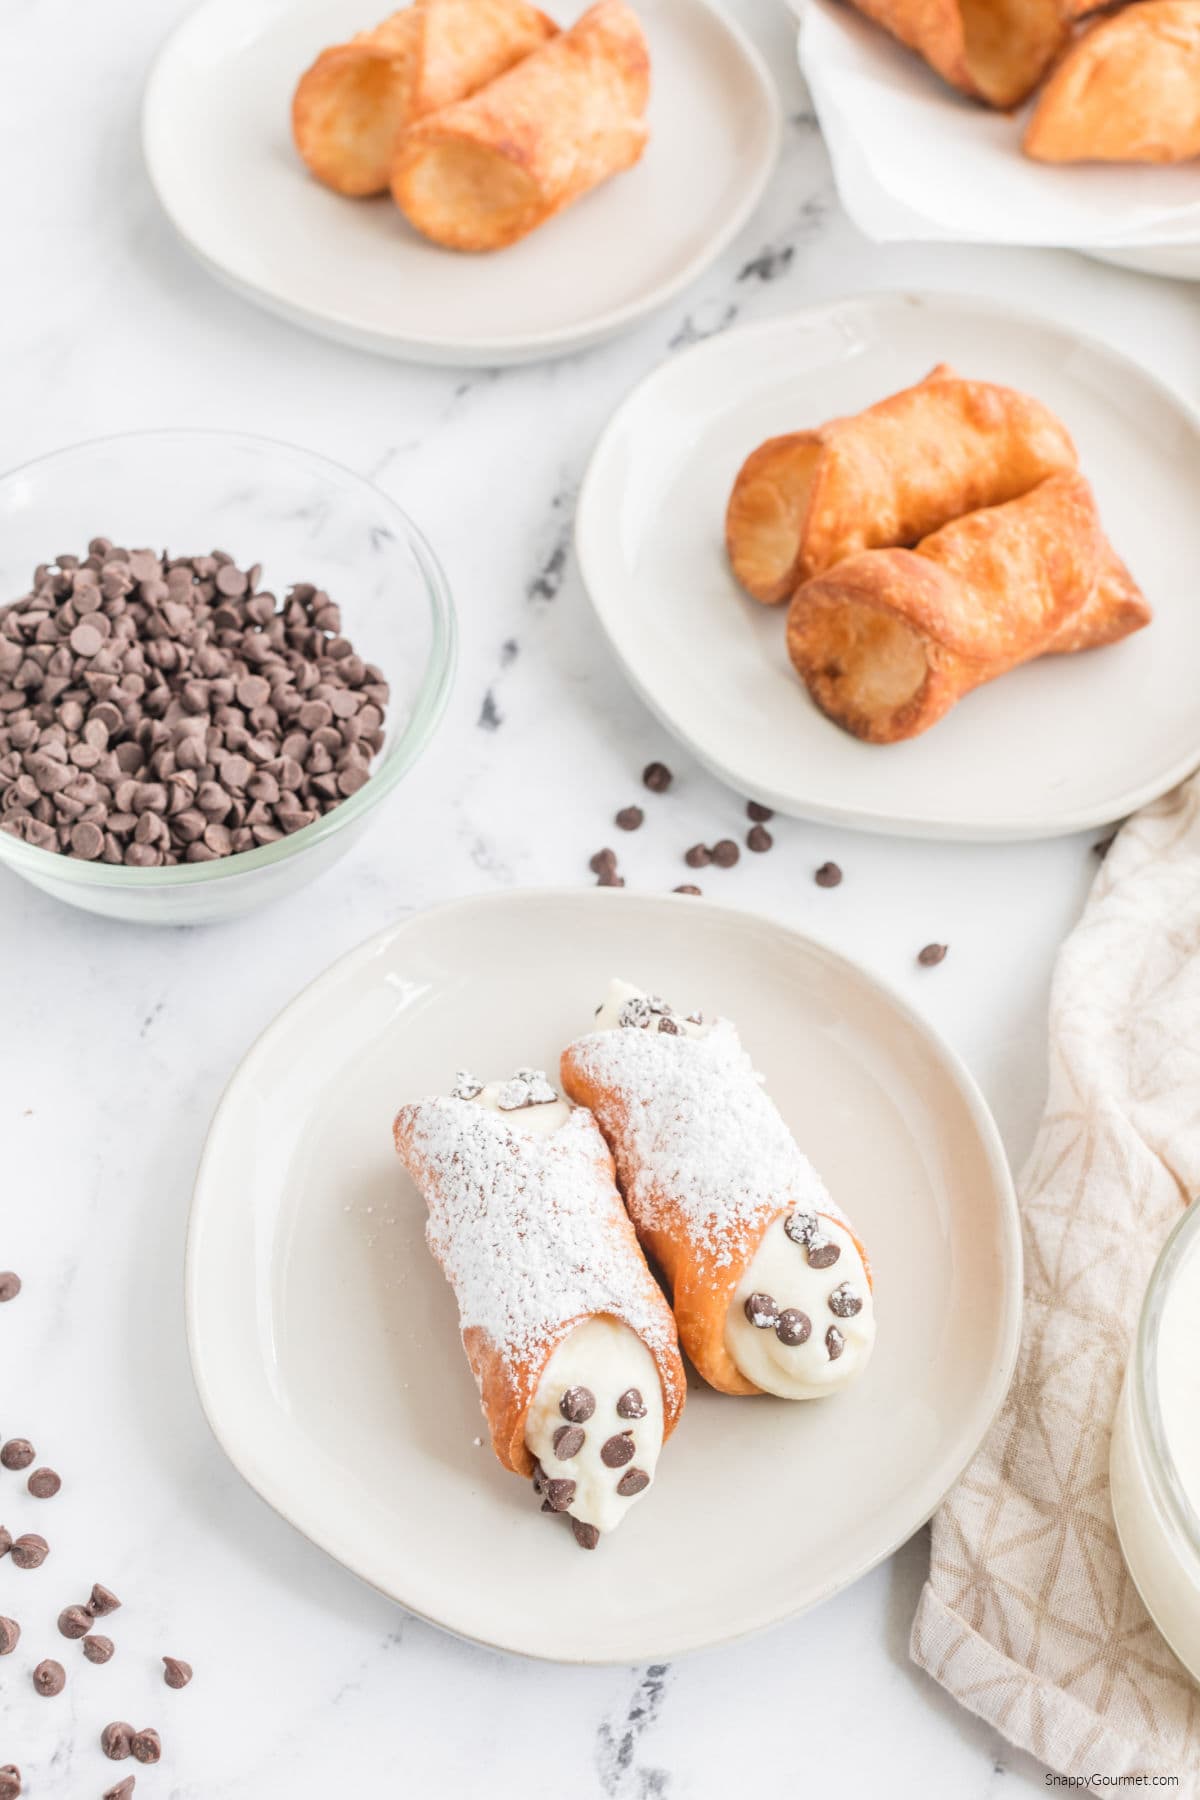
Make sure your homemade cannoli shells are completely cool before filling them. Warm shells and creamy ricotta filling are not a good combo!
Transfer the cannoli cream to a pastry bag fitted with a tip large enough for the mini chocolate chips to pass through. If you don’t have a pastry bag, a sturdy resealable bag with a corner cut off can work too.
Pipe filling into one end of the cannoli until it reaches approximately the center. Turn the shell around and repeat from the other end. This helps ensure the entire pastry is filled instead of having an empty spot in the middle.
For the best crispy texture, fill your cannoli as close to serving time as practical.
You can fill your cannoli with anything you’d like, including these dips… Pumpkin Cannoli Dip, Orange Almond Cannoli Dip, or Chocolate Cannoli Dip.
How to Decorate Cannoli
Once your homemade cannoli are filled, you can serve them as-is or dress them up a little.
Dip or sprinkle the exposed cannoli cream with mini chocolate chips or chopped pistachios. A light dusting of powdered sugar over the finished pastries is another simple, classic-looking option.
For chocolate lovers, try dipping the ends of the empty shells in melted chocolate and letting the chocolate set before adding the filling. You could also drizzle a little melted chocolate over the filled cannoli.
Serving Suggestions
- Serve homemade cannoli shortly after filling for the crispiest shells.
- Add mini chocolate chips or chopped pistachios to the exposed filling at each end.
- Dust the finished Italian pastries with powdered sugar just before serving.
- Serve with coffee, espresso (like this Iced Shaken Espresso), tea, or hot chocolate (like this Italian Hot Chocolate) for an easy dessert pairing.
- Add cannoli to an Italian dessert platter alongside cookies and other small pastries.
- Make them for holidays, birthdays, dinner parties, showers, or other special occasions.
Quick Tips for Best Results
- If your ricotta cheese looks watery or runny, learn how to strain ricotta cheese overnight before making the cannoli filling. Thick ricotta makes a much better filling for the pastry shells.
- Keep the cannoli dough refrigerated until you’re ready to roll it. When rolling, get it as thin as you can without the dough falling apart.
- Keep your frying oil as close to 365 degrees F as possible. Oil that’s too hot can brown the shells too quickly, while oil that’s not hot enough can affect their texture.
- Don’t overcrowd the pot. Fry just a few cannoli shells at a time so it’s easier to maintain the oil temperature.
- Be gentle when removing the fried shells from the metal cannoli tubes. They’re fragile and can crack or break, so making a few extra isn’t a bad idea.
- Make sure the pastry shells have cooled completely before filling.
- If you’re making the components ahead, keep the cannoli shells and cream separate. Fill the shells closer to serving time so they stay crispy.
- Make sure your pastry bag opening or tip is large enough for the mini chocolate chips to pass through without getting stuck.

Cannoli FAQ
How should I store Cannoli?
Once filled, cannoli should be stored covered in the refrigerator because of the ricotta and whipped cream filling. However, the shells will gradually soften after they’re filled. If possible, store unfilled shells separately at room temperature in an airtight container and keep the cannoli cream covered in the refrigerator until you’re ready to assemble.
Can you freeze Cannoli?
I wouldn’t recommend freezing assembled cannoli. Freezing can change the texture of the creamy ricotta filling and the crisp pastry shells. If you really want to experiment with freezing, I’d test a small amount first.
How long will the Cannoli last?
For the best texture, cannoli are best served shortly after filling because the cream will eventually soften the crispy shells. Unfilled cannoli shells can be kept separately in an airtight container at room temperature for at least a few days, while the cannoli cream should stay covered in the refrigerator.
Can I make Cannoli ahead?
Make the two components separately rather than filling the cannoli hours ahead. The homemade cannoli shells can be made first and stored unfilled in an airtight container at room temperature. Prepare the cannoli cream separately and keep it covered in the refrigerator. Then when dessert time rolls around, all you need to do is fill and decorate the shells. This approach isn’t just convenient. It also helps preserve the contrast that makes cannoli so delicious: crispy fried pastry on the outside and cool creamy ricotta filling inside.
Substitutions?
Instead of Marsala or dry white wine in the shells, you could try a dash of white wine vinegar, red wine vinegar, or apple cider vinegar mixed with water. Instead of vanilla extract in the filling, you could use almond extract or Fiori di Sicilia.
Can I use low-fat ingredients?
I wouldn’t use a low-fat milk in place of the heavy cream because it won’t whip the same way. You could experiment with lower-fat ricotta, but it may contain more moisture, so be sure it’s very thick and strain it well if necessary.
What else can I add to this recipe?
There are lots of possibilities! Try chopped pistachios, different types of chocolate, candied fruit, or your favorite extracts and flavorings. You can also decorate the shells with melted chocolate or add extra mini chocolate chips to the ends.
Can I make this vegan/vegetarian/low carb/gluten-free?
Here are some suggestions, but I can’t guarantee results. Be sure as always to check particular brands and ingredients if you’re following a specific diet or have diet restrictions or allergies.
Vegan – This one would be difficult to make vegan without quite a few changes to both the pastry and filling.
Vegetarian – This recipe is vegetarian, but check specific brands and ingredients as needed.
Low-Carb – The traditional flour-based shells make this recipe difficult to turn into a truly low-carb cannoli without substantially changing the recipe. You can try sugar substitutes for a slightly lower carb option.
Gluten-Free – You could experiment with a gluten-free baking flour substitute for the shells, but I haven’t tested how well it would roll and fry.
Other Cannoli Inspired Recipes You May Enjoy
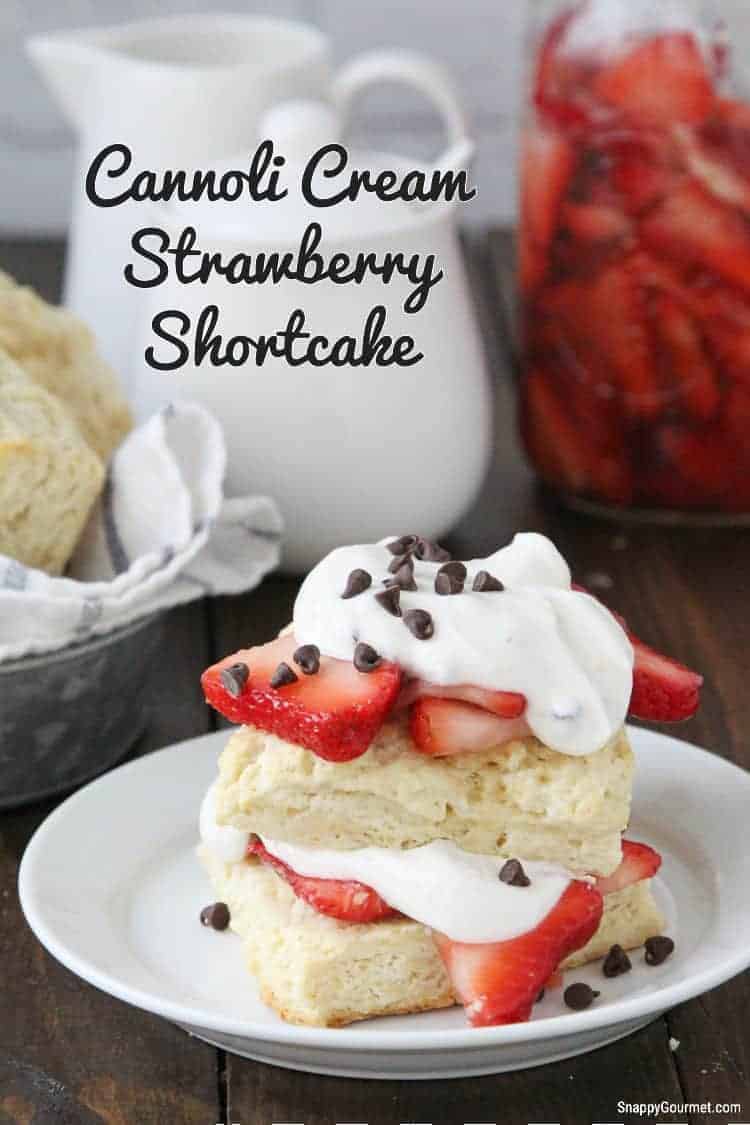
- Cannoli Cake – A fun cake inspired by classic cannoli flavors.
- Cannoli Cookies – An easy cookie variation for serious cannoli fans.
- Cannoli Cheesecake – A rich cannoli-inspired twist on cheesecake.
- Cannoli Cream Chocolate Truffles – A bite-size chocolate treat featuring cannoli flavors.
Hope you enjoy this homemade Cannoli recipe! It’s definitely a little more work than picking up a box at the bakery, but fresh, crispy shells stuffed with homemade ricotta cannoli cream make a pretty amazing Italian dessert.
If you are a cannoli lover, be sure to check out all my other delicious cannoli recipes!

Cannoli
Ingredients
Cannoli Shells:
- 2 cups all-purpose flour (plus a little more to dust work surface)
- 2 Tablespoons light brown sugar
- 1/4 teaspoon salt
- 3 Tablespoons unsalted butter cold & cubed
- 2 large eggs beaten, divided
- 1/2 cup Marsala wine (or dry white wine)
- Vegetable oil (for frying)
Cannoli Filling:
- 1 cup heavy cream cold
- 15 ounces ricotta cheese (one container), strained overnight if runny (see notes below)
- 3/4 cup powdered sugar
- 1 teaspoon vanilla extract
- 1 teaspoon fresh orange zest
- 1/4 teaspoon cinnamon
- 1/2 cup mini chocolate chips (additional for decorating ends of cannoli if desired)
Instructions
Cannoli Shells:
- In a large mixing bowl, whisk together the flour, brown sugar, and salt.
- Add cold cubed butter to flour mixture. With pastry cutter or your hands, work butter into flour mixture until it becomes crumbly.
- Add the marsala wine and 1 beaten egg and stir until well combined and dough comes together.
- Form dough into flat disc and wrap in plastic wrap. Refrigerate for at least one hour.
- Place about a quarter to a half of the dough on lightly floured work surface (leave remaining dough in fridge until ready to use). Roll dough with rolling pin until thin (about 1/4-inch thick or less).
- Using a floured 4-inch round cookie or biscuit cutter, cut out dough into circles. Repeat rolling and cutting with remaining dough.
- Wrap one dough round around a metal cannoli tube one at a time. Seal the overlapping dough edge with remaining beaten egg and press dough together gently to seal.
- Fill large heavy pot or dutch oven with a few inches of vegetable oil and heat over medium-high heat to 365 degrees F.
- Using long tongs or a metal spider strainer, place dough wrapped molds in hot oil and fry about 3 minutes or until golden brown. Only add a few at a time, and turn molds over halfway through cooking as needed. Be careful to not overcrowd pan and maintain oil temperature.
- Remove shells from oil with tongs or spider and place on paper towel lined surface to cool. Repeat frying with remaining shells.
- When shells are cool, remove molds from pastry shells by gently squeezing molds and very gently twisting shells until they slip off of molds.
- Make sure shells are cooled completely before filling.
Cannoli Cream Filling:
- Place a large mixing bowl and beaters in the freezer for a few minutes while you prep ingredients.
- Remove mixing bowl and beaters from freezer. Place cold heavy cream in bowl and beat with electric mixer with cold beaters until stiff peaks just begin to form. Set aside.
- In another mixing bowl, mix together the ricotta cheese (make sure it's thick and/or strained), powdered sugar, vanilla, orange zest, and cinnamon until just combined. Fold in whipped cream and then mini chocolate chips. Use as pastry bag or resealable bag with corner cut off to fill cannoli shells as desired.
Notes
- Cannoli shells can be a little fragile and break easily so be careful handling and I’d suggest making more than you need so you have extras.
- If your ricotta is runny, strain overnight to thicken (see how to strain ricotta cheese).
- Instead of wine, you could try a dash of vinegar (white wine, red wine, or apple cider vinegar) mixed with water.
- Instead of vanilla extract, you could use almond extract or Fiori di Sicilia.
Nutrition:
(Nutrition data is provided when available for informational purposes only and calculated using an online nutritional calculator. For the most accurate information please calculate based on specific ingredients and brands you use as well as any changes you made to the recipe. I am not a certified nutritionist or registered dietician and any nutritional information provided should only be used as a general guideline and estimate.)

About Lisa Huff
Lisa Huff is a Cookbook Author, Freelance Recipe Developer, Food Photographer, Blogger/Writer, and award-winning home chef. She loves creating unique recipes from healthy to decadent including cocktails, appetizers, main dishes, dessert recipes and more and has appeared on various shows, publications, and websites.











Many thanks for that.