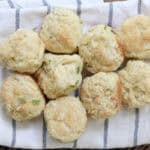
These Cast Iron Biscuits are tender, buttery, and baked until golden with crisp edges and a soft, pillowy center. Made from scratch with cold butter and tangy buttermilk, this easy savory biscuit recipe is perfect for breakfast, dinner, or serving alongside soups and stews.

Cast Iron Biscuits are everything a homemade biscuit should be. They’re tall, soft, and layered with buttery flavor, plus just enough fresh chive goodness to make them feel special without being fussy. Savory biscuits like these go with just about anything.

Baked snugly together in a hot cast iron pan, these biscuits rise beautifully and develop golden edges while staying tender inside. They’re simple to make, incredibly satisfying, and one of those recipes you’ll reach for again and again once you try them.
What I Love About This Recipe
- I love how tall and fluffy these biscuits turn out. Using cold butter and not overworking the dough gives them a soft, tender texture with beautiful layers. They’re light without being crumbly and rich without being heavy. It’s the kind of biscuit you want to pull apart while it’s still warm.
- The fresh chives add just the right savory touch. They give the biscuits flavor without overpowering them, making these perfect for both breakfast and dinner. The mild onion flavor pairs so well with butter and buttermilk. It’s simple and classic.
- Baking these biscuits in a cast iron pan makes a big difference. The pan holds heat well, helping the bottoms brown nicely while the biscuits bake evenly. Nestling them close together also helps them rise higher. It’s a small detail with great results.
- This recipe is also very adaptable. You can easily swap in other mix-ins depending on what you’re serving them with. Once you’ve mastered the base, the variations are endless. That’s what makes a recipe worth keeping.
Equipment You May Need
- Cast Iron Pan or Skillet – Helps the biscuits bake evenly with golden bottoms.
- Large Bowl – For mixing the biscuit dough.
- Pastry Cutter – Makes cutting the butter into the flour quick and easy.
- Round Biscuit Cutter – A 2-inch cutter works perfectly for uniform biscuits.
- Pastry Brush – Used to brush melted butter on the baked biscuits.
(Full printable recipe card is at bottom of post.)
Cast Iron Biscuits Ingredients
- All-Purpose Flour – Gives the biscuits structure while keeping them tender.
- Baking Powder – Helps the biscuits rise tall and fluffy.
- Salt – Enhances flavor and balances the richness.
- Cold Butter – Creates flaky layers and rich flavor.
- Fresh Chives – Add mild onion flavor and a pop of color.
- Buttermilk – Keeps the biscuits moist and tender with a slight tang.
- Melted Butter – Brushed on top for extra flavor and a glossy finish.
How to Make Cast Iron Biscuits
Step One: Prepare the Oven and Pan
Preheat the oven to 425°F and set the oven rack to the lowest position. Generously grease a cast iron pan and set aside.
Step Two: Mix the Dry Ingredients
In a large bowl, mix together the flour, baking powder, and salt until evenly combined.
Step Three: Cut in the Butter and Add Chives
Using a pastry cutter or the back of a fork, cut the cold butter into the flour mixture until it resembles coarse crumbs. Stir in the chopped chives.
Step Four: Add the Buttermilk
Pour in 1 cup of the cold buttermilk and gently stir until the dough begins to come together. Add more buttermilk as needed until the dough is just combined and still moist.
Step Five: Shape the Biscuits
Turn the dough out onto a lightly floured surface. Gently press the dough to about 1 inch thick. Use a 2-inch round cutter to cut out 16 biscuits.
Step Six: Add to Pan
Place the biscuits close together in the prepared pan.
Step Six: Bake the Biscuits
Bake on the bottom rack for 12 to 17 minutes, or until golden brown. Brush the tops with melted butter and let cool slightly before serving.
(Full printable recipe card with full details is at bottom of post.)

Serving Suggestions
- Serve warm with butter, honey, or your favorite spreads.
- Pair with eggs for breakfast and brunch spreads.
- Serve alongside soups, stews, chili, or roasted meats such as Roasted Chicken or Roasted Turkey for Thanksgiving.
- Cut in half and make great sandwiches with ham, cheese, bacon, turkey, or any of your favorite fillings.
Quick Tips for Best Results
- Handle the dough gently to keep biscuits tender.
- Cold butter and cold buttermilk are key for flaky biscuits.
- For extra crispy bottoms, preheat the cast iron pan in the oven.
- You can make these into mini biscuits using a smaller biscuit cutter, but adjust the baking time.

Cast Iron Biscuits FAQ
How should I store the biscuits?
Store biscuits in an airtight container at room temperature for up to 2 days or in the refrigerator for up to 5 days.
Can I freeze the biscuits?
Yes, biscuits freeze well. Freeze baked biscuits and reheat in the oven before serving.
How long will the biscuits last?
They are best the day they’re made, but will keep up to 2 days at room temperature or 5 days refrigerated.
Substitutions?
You can substitute chopped cooked bacon, shredded cheese, or chopped onion for the chives.
Can I use low-fat ingredients?
Full-fat buttermilk and butter give the best texture and flavor. Low-fat options may affect fluffiness.
What else can I add to this recipe?
Try adding garlic powder, black pepper, Italian herbs, scallions, or a pinch of cayenne for extra flavor.
Can I make this vegan/vegetarian/low carb/gluten-free?
Here are some suggestions, but I can’t guarantee results. Be sure as always to check particular brands and ingredients if you’re following a specific diet or have diet restrictions or allergies.
Vegan – Use plant-based butter and dairy-free buttermilk alternatives.
Vegetarian – It’s vegetarian.
Low-Carb – These biscuits are not low-carb.
Gluten-Free -You can try a 1:1 gluten-free flour blend, but results may vary.

Other Bread Recipes You May Enjoy
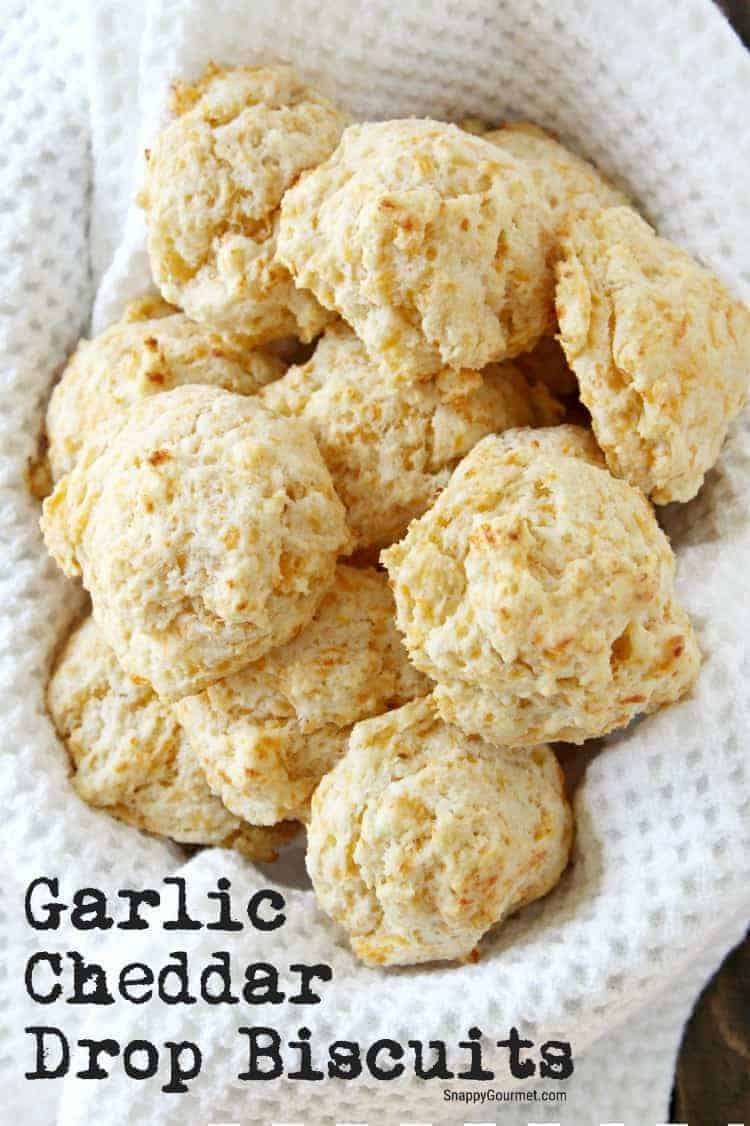
- Garlic Cheddar Drop Biscuits – Easy homemade Red Lobster biscuit copycat recipe.
- Homemade Cheddar, Chive, and Sausage Biscuits – a full meal in a biscuit!
- Pesto Puff Pastry Twists – Only 3 ingredients!

Hope you enjoy this Cast Iron Biscuits recipe! Tell me in the comments what you served them with!
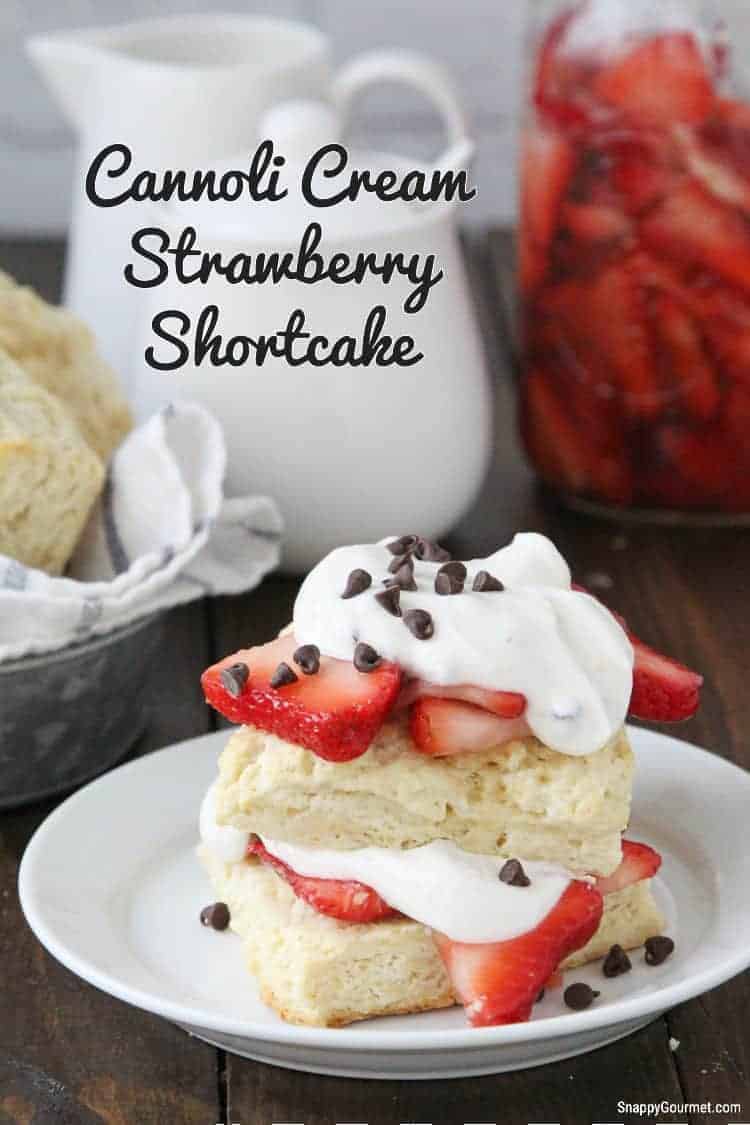
If you like these Cast Iron Biscuits, you may also like these Sweet Shortcake Biscuits and these Mini Cheddar Biscuit Muffins!
Cast Iron Biscuits
Ingredients
- 2 7/8 cups all purpose flour (2 1/2 cups + 2 Tablespoons)
- 4 1/2 teaspoons baking powder
- 1 teaspoon salt
- 6 Tablespoons cold unsalted butter cubed
- 1 cup cold buttermilk to 1 1/2 cups
Topping:
- 3 Tablespoons unsalted butter melted
Instructions
- Preheat oven to 425 degrees F. Grease or butter a 10-inch cast iron pan.
- In a large bowl, mix together the flour, baking powder, and salt until combined.
- Add the 6 Tablespoons of cold cubed butter to the flour mixture. With a pastry cutter or back of a fork, cut in the butter until mixture is coarse crumbs.
- Add 1 cup of buttermilk to the flour mixture and stir to combine. Add more buttermilk as needed until dough just comes together. Be careful to not overwork dough.
- Place dough on lightly floured surface. Gently press dough until 1-inch thick. Uisng a 2-inch round cutter, cut the dough into 16 biscuits.
- Place the biscuits next to each other in the cast iron pan.
- Bake biscuits at 425 degrees F for about 12-17 minutes or until golden brown. Brush tops of biscuits with 3 Tablespoons of melted butter. Cool slightly before serving.
Notes
- You can add some of your favorite dried or fresh herbs or mix-ins to this biscuit recipe.
- If you’d like a crisper biscuit, bake these biscuits toward the bottom of your oven.
- When cutting biscuits, be sure to quickly push the cutter straight up and down without turning the cutter. The more you twist or press down on the dough, the less likely they are to rise.
- Instead of buttermilk, you can make your own homemade sour milk by adding 1 Tablespoon of white vinegar to a measuring cup, then adding milk to the 1 cup mark. Let it sit 5-10 minutes, and stir.
Nutrition:
(Nutrition data is provided when available for informational purposes only and calculated using an online nutritional calculator. For the most accurate information please calculate based on specific ingredients and brands you use as well as any changes you made to the recipe. I am not a certified nutritionist or registered dietician and any nutritional information provided should only be used as a general guideline and estimate.)


About Lisa Huff
Lisa Huff is a Cookbook Author, Freelance Recipe Developer, Food Photographer, Blogger/Writer, and award-winning home chef. She loves creating unique recipes from healthy to decadent including cocktails, appetizers, main dishes, dessert recipes and more and has appeared on various shows, publications, and websites.